









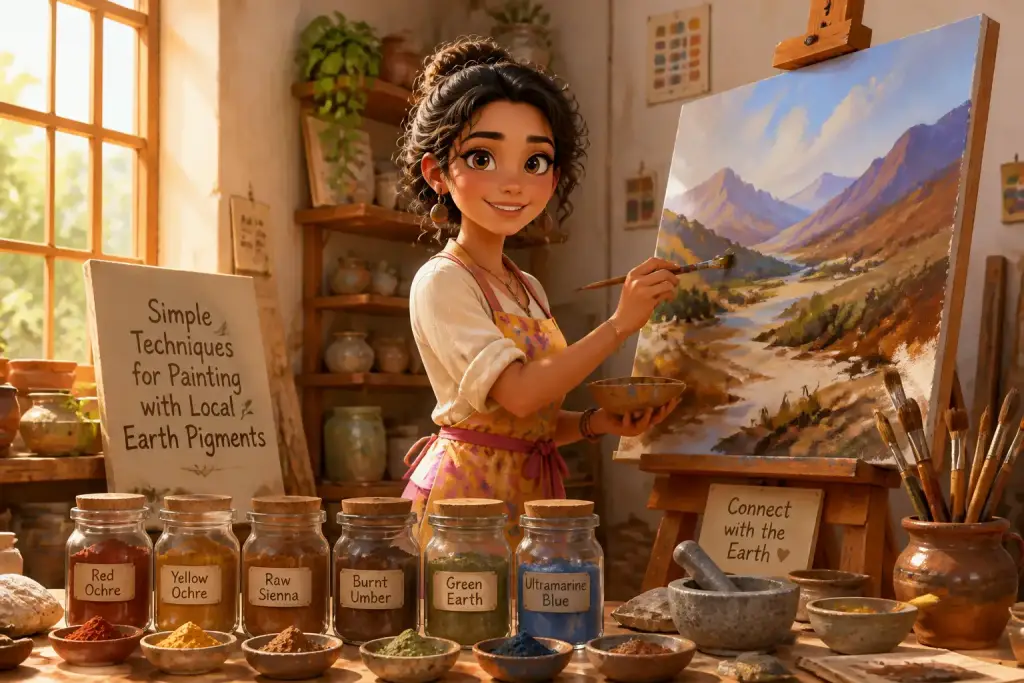
Painting with earth pigments opens up a world of vibrant colors and creative possibilities. These natural materials, derived from local soils and minerals, provide a unique palette for artists and hobbyists alike. Earth pigments not only enhance the beauty of your artwork but also connect you to your local environment. The techniques for working with these pigments are straightforward, making it easy for anyone, regardless of skill level, to create stunning pieces. This guide covers essential techniques for painting with earth pigments, ensuring you can confidently express your creativity.
- Earth pigments offer natural colors that are safe and beautiful.
- Local sourcing supports sustainability and creativity in art.
- Simple mixing techniques make painting accessible for all skill levels.
Table of Contents
Gathering and Preparing Earth Pigments
Collecting earth pigments is an exciting process that allows you to explore your local environment. Start by looking for natural clay, soil, or mineral deposits in your area. Pay attention to the colors you find, as different materials will yield various shades. For example, red clay often produces warm reds, while yellow ochre offers a sunny hue. When gathering, ensure that you have permission to collect materials and leave the environment as you found it.
Once you have gathered your pigments, it’s time to prepare them for painting. Begin by drying the collected materials in a sunny spot or a warm oven. This drying process helps to remove moisture, making the pigments easier to grind. After drying, use a mortar and pestle or a small grinder to finely crush the pigments. The finer the pigment, the better it will mix with your binding agent. Aim for a powdery consistency that feels smooth to the touch.
Steps to Prepare Pigments
- Gather local materials, ensuring they are safe to collect.
- Dry the pigments thoroughly to remove moisture.
- Grind the dried pigments into a fine powder.
- Store the pigments in airtight containers to maintain freshness.
Another essential step is to create a binding medium for your pigments. Common options include water, egg yolk, or natural resins. Each binding agent will affect the texture and finish of your paint. For instance, using egg yolk creates a rich, glossy paint, while water offers a more fluid consistency. Experiment with different mediums to find the combination that works best for your style.
Mixing Earth Pigments for Painting
Mixing earth pigments is a crucial skill that impacts the overall quality of your artwork. Start by combining your ground pigments with your chosen binding agent in a mixing bowl. Use a palette knife or a sturdy stick to blend the materials thoroughly. Aim for a smooth, homogenous mixture that is easy to apply. The ratio of pigment to binder can vary depending on the desired consistency and opacity. Generally, a higher pigment ratio creates a more vibrant color, while more binder leads to a lighter wash.
While mixing, consider adding water to adjust the thickness of your paint. If the mixture feels too thick, a few drops of water can help achieve the desired consistency. Conversely, if the paint is too runny, adding more pigment will enhance color saturation. Testing your mixtures on scrap paper allows you to see how the colors appear when dry, giving you a better idea of the final outcome.
Tips for Effective Mixing
- Experiment with different binder ratios to achieve various textures.
- Test the paint on different surfaces, like canvas or wood, to see how it adheres.
- Keep notes on your mixtures for future reference.
Techniques for Applying Earth Pigments
Applying earth pigments can be done in multiple ways, each offering a distinct finish and feel. Traditional methods like brush painting allow for detailed work, while sponge techniques can create texture and depth. Choose your application method based on the effect you want to achieve. For example, a brush is ideal for fine lines and intricate designs, while a sponge can quickly cover larger areas with a soft gradient.
When using brushes, select a variety of sizes to facilitate different strokes. A larger brush is great for broad areas, while smaller brushes enable detailed work. Dipping the brush into the paint should be done gently to avoid dripping. Apply the paint with even strokes to prevent streaks and achieve a smooth finish. If you want to layer colors, allow each layer to dry completely before adding the next. This technique creates rich, multi-dimensional artwork.
Application Methods
- Brush Painting: Use various brush sizes for detailed work.
- Sponge Technique: Apply paint with a damp sponge for textured effects.
- Finger Painting: Use your fingers for direct, tactile engagement with the paint.
Using natural tools can also enhance your painting experience. Items like leaves, twigs, or even fingers can create unique textures and patterns. For instance, a leaf can be dipped in paint and pressed onto the canvas to create beautiful, organic shapes. This technique not only adds interest to your artwork but also connects you more deeply with nature.
Creating Artworks with Earth Pigments
Once you have mastered mixing and applying earth pigments, it’s time to create your artwork. Start by brainstorming ideas or themes that inspire you. Consider using local landscapes, cultural motifs, or abstract designs as your foundation. Sketching your ideas on paper beforehand helps in planning your composition and color choices.
When creating your artwork, embrace spontaneity. Some of the most beautiful pieces arise from unexpected color combinations or techniques. Don’t be afraid to experiment with layering different colors or applying textures. The beauty of using earth pigments lies in their unpredictability and natural variations, which can enhance the uniqueness of your work.
Steps to Create Your Artwork
- Sketch your design on the canvas.
- Choose your color palette and mix the paints.
- Begin applying paint from the background to the foreground.
- Layer colors and textures as desired, allowing time to dry between layers.
As you work, take breaks to step back and view your artwork from a distance. This perspective can provide valuable insight and help you decide if additional details or adjustments are needed. Remember that art is a journey, and each piece contributes to your growth as an artist.
Always test your pigment mixtures on scrap paper to see how colors blend before applying them to your main project.
Preserving and Displaying Your Art
After completing your artwork, it’s essential to consider how to preserve and display it. Earth pigments, while beautiful, can be sensitive to moisture and sunlight, so proper care is vital. Start by allowing your painting to dry completely in a cool, dry place. This process can take several days to ensure the paint sets well.
Once dry, consider applying a protective finish. Natural varnishes or waxes can help shield your painting from dust and UV light. When selecting a finish, choose one that is compatible with the earth pigments and binding agents you used. Always test the finish on a small area before applying it to the entire piece.
Displaying Your Artwork
- Choose a well-lit area to highlight the colors.
- Frame your artwork with materials that complement its natural look.
- Consider hanging it in a place where viewers can appreciate the texture and detail.
Sharing your artwork with others can be incredibly rewarding. Consider joining local art shows or community exhibitions to showcase your creations. Engaging with other artists and art lovers not only provides feedback but also fosters a sense of community around your work.
Embracing the Sustainability of Local Earth Pigments
Using earth pigments promotes sustainable practices in art. These materials are often non-toxic and biodegradable, making them a safer choice for both artists and the environment. By choosing local pigments, you also support the local economy and reduce your carbon footprint. This connection to the earth adds meaning to your work, as each piece reflects the natural beauty of your surroundings.
To further enhance sustainability, consider hosting workshops or classes to teach others about using earth pigments. Sharing your knowledge can inspire more people to explore natural materials in their art, creating a broader movement toward eco-friendly practices. Engaging your community not only spreads awareness but also fosters creativity and collaboration.
Community Engagement Ideas
- Organize community clean-up events to collect local materials responsibly.
- Host workshops to teach others about preparing and using earth pigments.
- Collaborate with local schools or art programs to introduce students to sustainable art practices.
Incorporating these sustainable practices into your art journey not only enriches your creative process but also contributes positively to the environment. By embracing the use of local earth pigments, you make a lasting impact on both your artwork and the world around you.