








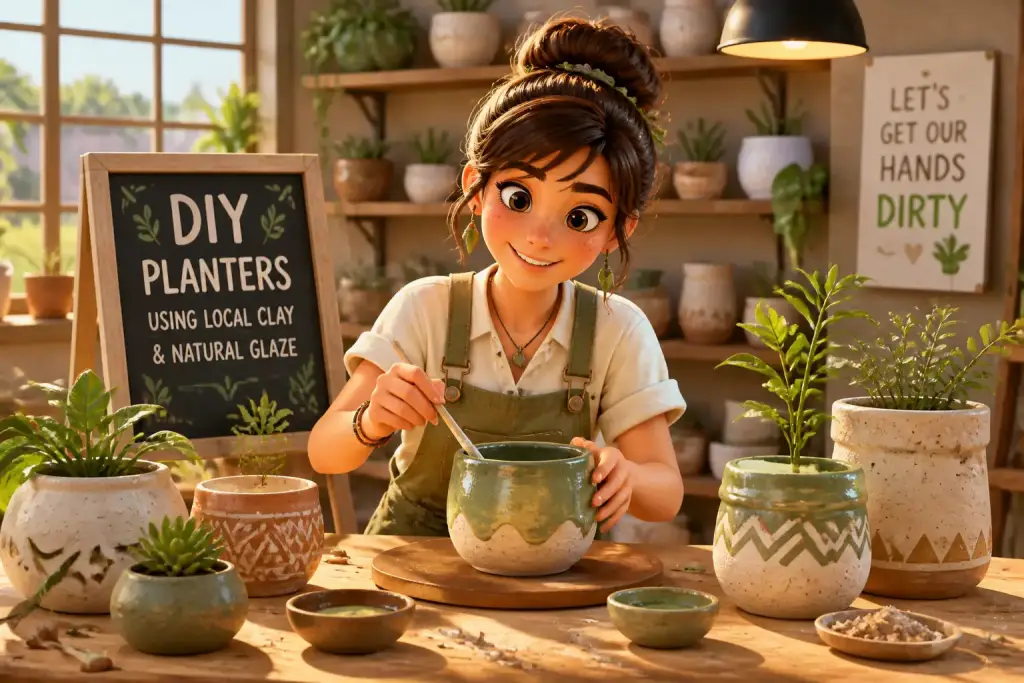
Creating your own DIY planters using local clay and natural glaze is not only a rewarding hobby but also a fantastic way to express your creativity. This art form allows you to connect with nature while crafting unique pieces that enhance your garden or home. As you work with local materials, you contribute to sustainability and make your gardening experience even more meaningful. Whether you are a beginner or an experienced crafter, this guide will walk you through the entire process of making beautiful planters from scratch.
- Use local clay to create personalized planters that fit your style.
- Experiment with natural glazes to enhance your planter's beauty.
- Follow step-by-step instructions for successful planter crafting.
Table of Contents
Gathering Materials for Your Planters
Before starting your DIY planter project, it is essential to gather all necessary materials. The primary ingredient is local clay, which can be found in various forms, including earthenware, stoneware, or porcelain. Local clay not only supports your community but also provides a unique texture and color that you won’t find in mass-produced planters. Visit nearby pottery studios, craft shops, or artisan markets to source quality clay.
To clay, you will need tools for shaping and glazing your planters. Some essential tools include:
- Potter’s wheel (if desired)
- Basic hand tools like knives and sponges
- Glazing brushes
- Plastic wrap for covering your work
- Oven or kiln for firing your clay
Natural glazes are another critical component of this project. They can be made from local minerals, ash, and other organic materials. Experimenting with different glazes can yield stunning results. You can create earthy tones or vibrant colors, depending on your preferences. For more inspiration, consider reading about mindful crafting practices.
Shaping Your Clay Planters
After gathering your materials, it is time to shape your clay into planters. This step is where your creativity will shine. Start by preparing your workspace. Make sure you have a clean, flat surface to work on, as well as a container of water for smoothing the clay.
You can choose from various techniques to shape your planters:
Hand-Building Techniques
Hand-building is a straightforward method that does not require specialized equipment. Here are some popular hand-building techniques:
- Pinch Pots: Take a ball of clay and pinch it into a bowl shape, gradually widening it to form the planter.
- Coil Method: Roll out long strips of clay, then stack and shape them into your desired planter form.
- Slab Building: Roll out flat sheets of clay and cut them into pieces to assemble a planter shape.
Whichever method you choose, remember to keep your clay moist as you work to avoid cracking. Use a sponge or your fingers to smooth the surfaces and create a polished look.
Firing Your Clay Planters
Once you have shaped your planters, the next step is firing the clay. Firing solidifies the clay and makes it durable. If you have access to a kiln, this process can be done at high temperatures. However, if you do not have a kiln, you can use an oven for a low-fire option. It is essential to follow the specific firing instructions for the type of clay you are using, as each type has different firing temperatures.
Here are the steps to fire your clay planters:
- Allow your planters to air dry for at least 24 hours before firing.
- For kiln firing, place your planters on the kiln shelf and program the kiln according to the clay’s specifications.
- If using an oven, preheat it to 180-200 degrees Fahrenheit. Place your planters on a baking sheet and bake for 30-45 minutes.
Firing not only strengthens your planters but also prepares them for glazing. Once fired, let them cool completely before moving on to the glazing process.
Applying Natural Glaze to Your Planters
Glazing is an exciting part of creating your DIY planters. Natural glazes can enhance the beauty of your planters while adding a protective layer. You can make your own glaze or purchase pre-made natural glazes from local suppliers. Experimenting with different glaze combinations can lead to stunning results.
To apply glaze, follow these steps:
Glazing Process
- Ensure your fired planters are clean and free from dust.
- Using a glaze brush, apply your chosen glaze evenly, covering all surfaces.
- For unique effects, consider layering different glazes or using a sponge to dab on color.
After glazing, your planters will need to be fired again to set the glaze. This second firing is often done at a lower temperature than the first. Always refer to your glaze’s instructions for the best results. Once the glazes are set, you will have beautiful, vibrant planters ready for planting.
Visit local pottery studios or artisan markets to find high-quality clay that suits your crafting needs.
Planting and Caring for Your Planters
With your DIY planters complete, it is time to add some greenery. Choose plants that suit the size and depth of your planters. Herbs, succulents, and small flowers are excellent choices for most DIY planters. Ensure that your planters have adequate drainage to prevent overwatering.
Here are some tips for planting:
- Layer the bottom of your planter with small stones or gravel to allow drainage.
- Add a layer of potting soil, leaving space for your plants.
- Carefully remove plants from their nursery pots and place them in the planter.
Once planted, water the plants thoroughly and place them in an area with appropriate sunlight. Regularly check the soil moisture to ensure your plants thrive. You can also decorate your planters with pebbles or natural materials for added aesthetics. For more ideas on local crafts, check out this post on creating meaningful decor.